 Relic Hunt
Gear
Sharpening and Recycling at the Forge
At the forge, the Blacksmith sharpens weapons and armor to multiply their numbers, and the Recycler breaks unwanted items down into the junk the Blacksmith needs. A careless sharpening can do nothing at all or destroy the item, so know how each step works before you press the button.
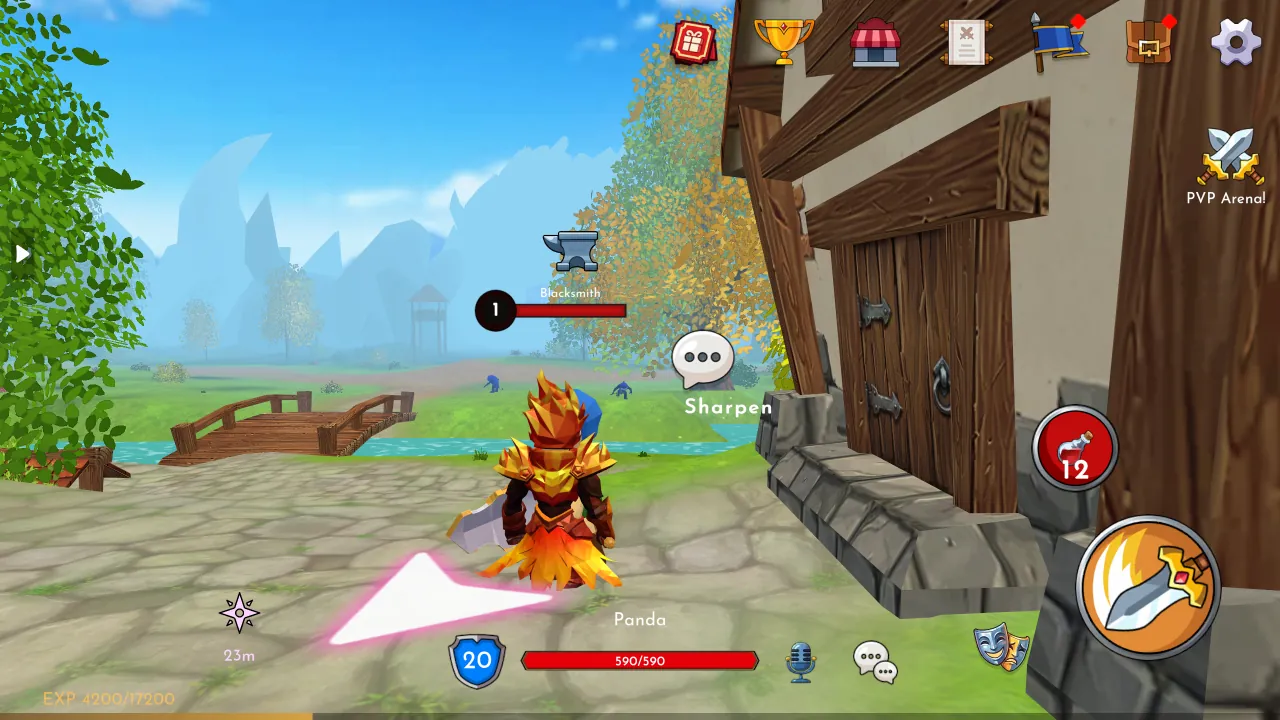
Where to find the forge
Each of the two Forest cities has a Blacksmith, a Recycler and a Trader, and so does the city in the Desert. The Blacksmith offers Sharpen and Mega Sharpen, the Recycler offers Recycle and Mega Recycle, and the Trader buys what you no longer want.
The forge takes weapons, chest armor, helmets, gloves, boots and rings. You can sharpen items in your bag or ones you are wearing, and the window lists your equipped gear first. Recycling only takes items from the bag, so unequip something before you scrap it.
How to sharpen an item
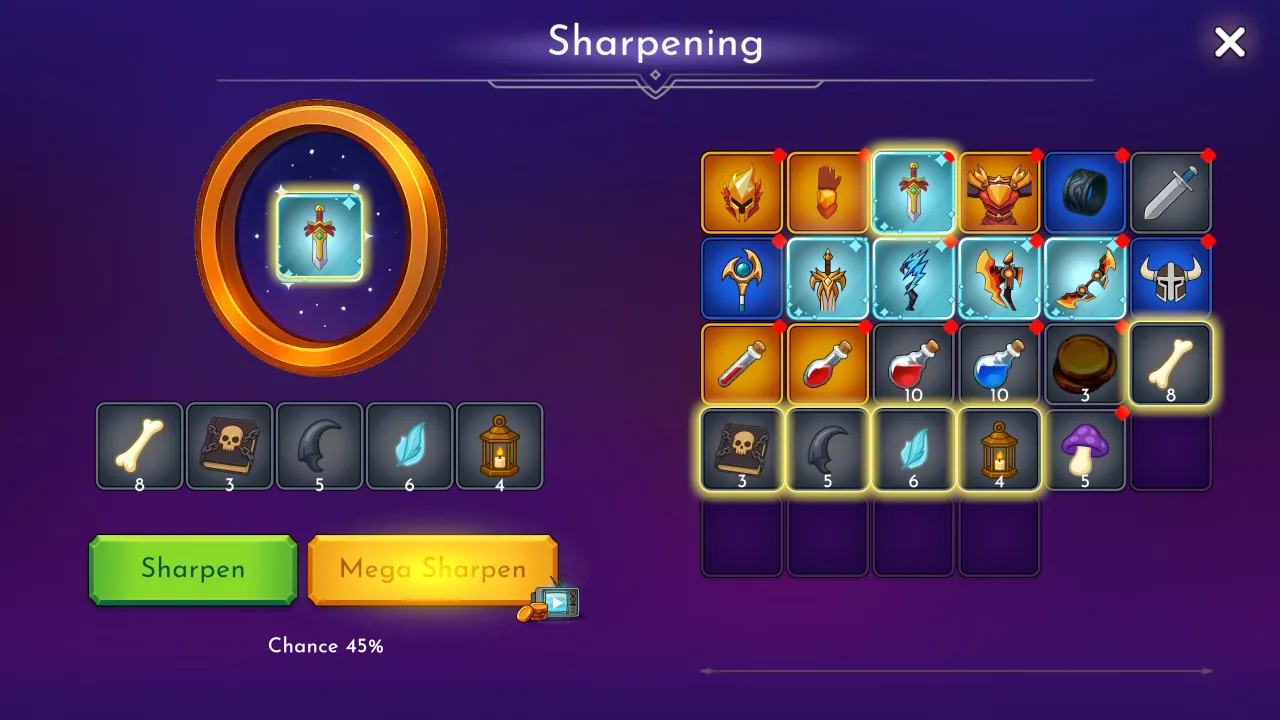
- Talk to the Blacksmith and choose Sharpen.
- Tap the item to improve. It goes into the main slot and the window shows your chance.
- Tap junk in your bag to add it as material: Old Books, Dull Claws, Ink Bottles, Broken Branches, Glass Eyes and the other junk monsters drop. Coins are never used as material.
- The Chance line updates as you add junk, using the same numbers the server uses for the roll.
- Press Sharpen, or Mega Sharpen for a guaranteed result, and read the message: success, failed and stayed, or failed and broke.
How the chance is built
The chance is a fixed base, plus a little for each point of Wisdom you invested yourself, plus the junk you add, which matters most. Wisdom from gear doesn't count, so a stack of Wisdom rings won't help. Junk is measured against the item's value.
An item's value is the sum of its numbers: attribute bonuses plus damage, healing or mana restore, with a large flat bonus on top for Rare and Legendary grades. The same pile of junk is a big share of a Common item's value and a small share of a Legendary one's, so Legendary items need far more junk for the same chance.
Normal sharpening is never a sure thing, because the chance has a ceiling below 100 percent. Every item that can still be sharpened shows at least 1 percent. If the window shows 0 and says the item can't be sharpened any further, it has used up all of its sharpenings.
What a success does
A success multiplies all the item's numbers by one factor: damage, attribute bonuses, healing, and also reach and cleave radius. The factor depends on how much junk you added compared with the item's value. It grows quickly at first, then levels off, up to a maximum.
With no junk at all the factor is exactly 1. A normal success without materials changes nothing but still uses up one of the item's limited sharpenings. Always add junk.
Each success also has a small chance to raise the item's grade by one tier, from Common to Rare or from Rare to Legendary. Every number also has a ceiling tied to the item's base values and grade. After a success the item card opens and shows how each number changed.
What a failure costs
The junk is spent the moment you press the button, whatever happens. On a failure the server rolls again. Usually the item stays as it was, but sometimes it breaks and is gone for good. That includes equipped items, so sharpening your only weapon in the middle of the Desert is a gamble with your way home.
Mega Sharpen and Mega Recycle
After a short ad, Mega Sharpen succeeds for sure and doubles the factor. With no junk it doubles the item's numbers, up to the item's ceiling. With junk, it doubles the junk's factor. It still uses one of the item's sharpenings, but it can never break anything.
Mega Recycle is the same deal at the Recycler: after a short ad, you get two of every junk item.
Recycling gear into junk
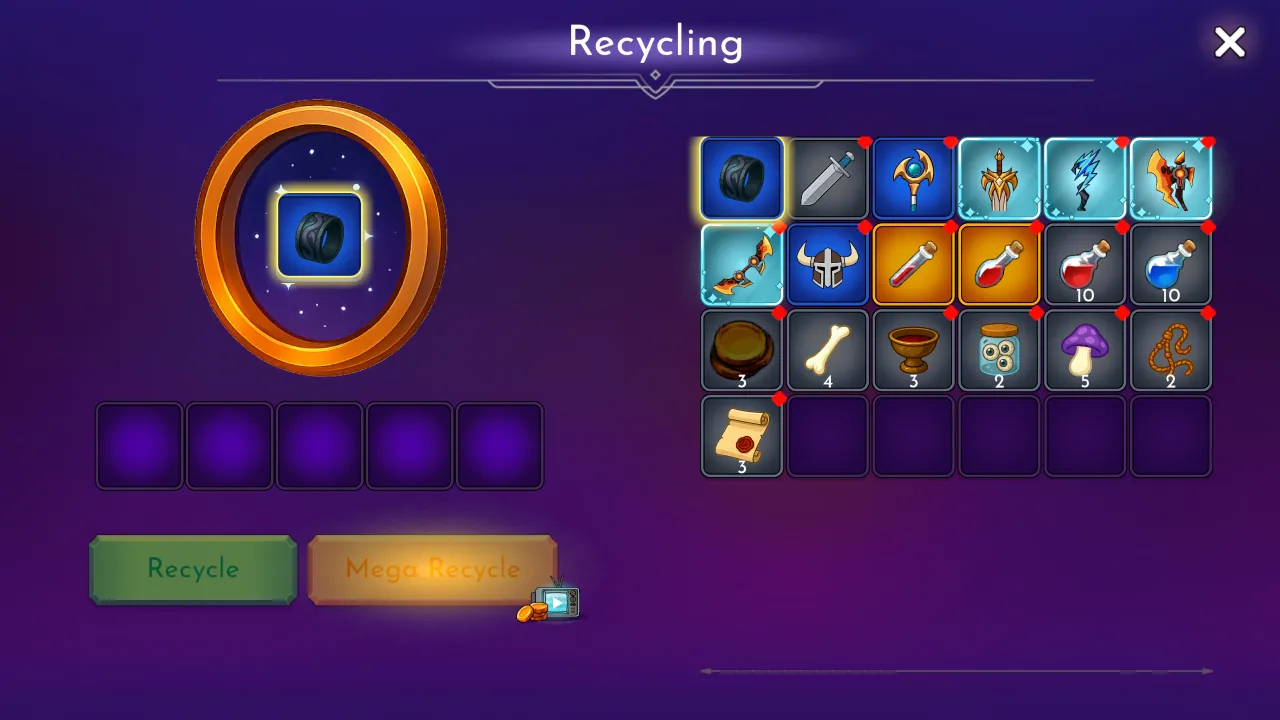
The Recycler takes one item and pays out junk worth part of its value. Put the item in the slot to see the junk you'll get before you confirm. Thanks to their flat grade bonus, Rare and Legendary items recycle into a large pile of junk, enough to sharpen several Common items.
Make room first. The junk goes into your bag, and any piece that doesn't fit is lost.
Sell, recycle or sharpen?
- Sharpen the items you'll wear, and feed them plenty of junk. A Common item with a big junk pile gets both a high chance and a big factor.
- Recycle spare Rare and Legendary pieces you won't use. Their grade bonus turns into junk for the items you will use.
- Sell to the Trader when you need gold, not materials. The Trader's window shows the price of each item in your bag.
- Use Mega Sharpen on items you can't afford to lose, or when you have no junk at all.
Forge tasks
The Tasks window rewards forge work. Every sharpening attempt counts, successful or not.
- First Polish: sharpen once for 100 experience, 150 gold and a Rare Relic. Blacksmith Apprentice also pays 300 gold and a Rare Relic for a single sharpening.
- Apprentice Blacksmith: 5 sharpenings for 300 experience, 400 gold and a Rare Relic.
- Keen Blade: 15 sharpenings for 600 experience, 1000 gold and a Rare Relic.
- Master Smith: 40 sharpenings for 2000 experience, 3000 gold and two Legendary Relics.
- Scrap Metal: recycle once for 150 gold and a Rare Relic.
- Recycler Novice and Recycler Journeyman: 5 and 15 recyclings, for 200 experience, 300 gold and two Rare Relics, then 1000 experience, 1000 gold and a Rare Relic.
- Forge Cleaner and Master Recycler: 50 and 100 recyclings, for 1500 experience, 2000 gold and three Common Relics, then 5000 experience, 5000 gold and two Legendary Relics.
Checklist before you press Sharpen
- Is there junk in the material slots? Without it, a normal success does nothing.
- Is the chance worth it? The item can break on a failure, so use Mega Sharpen for gear you can't replace.
- Do you have a spare weapon in the bag in case this one breaks?
- Is a tiny junk pile going on a Legendary item? It needs far more junk than a Common one.
- Before recycling: is there room in your bag for the junk?
Read next
- Junk and Recycling: Materials for the Blacksmith
- Armor and Sets: Slots, Attributes and Drops
- Relics: What's Inside and Where to Find Them
- Gold and Trading: Earning Coins and Using Traders
- One-Handed Swords: Damage, Speed and Drops
- Two-Handed Swords: Cleave, Wind-Up and When to Use Them
- Axes: The Hardest-Hitting One-Handed Weapons
- Bows: Range, Hit Chance and Kiting
- Staffs and Magic: Spells, Mana and Area Damage